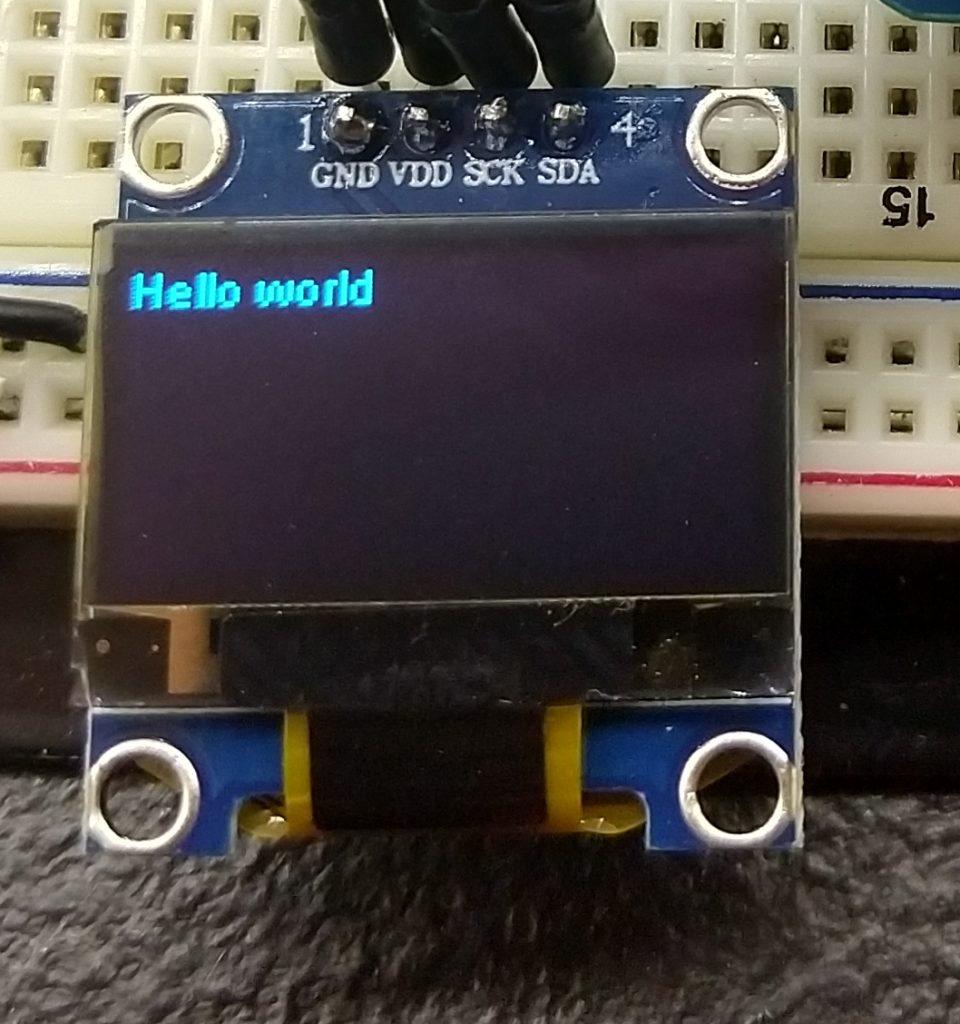
I ordered these displays (GM009605 v4 similar to https://amzn.to/2QTTbTW) on a whim direct from China when I was ordering the Wemos D1 Minis. As with most things coming direct via China I had a hard time finding data sheets or any meaningful support documentation. Good information is one of the big benefits of ordering from a supplier like Adafruit or Sparkfun, but of course you pay for it.
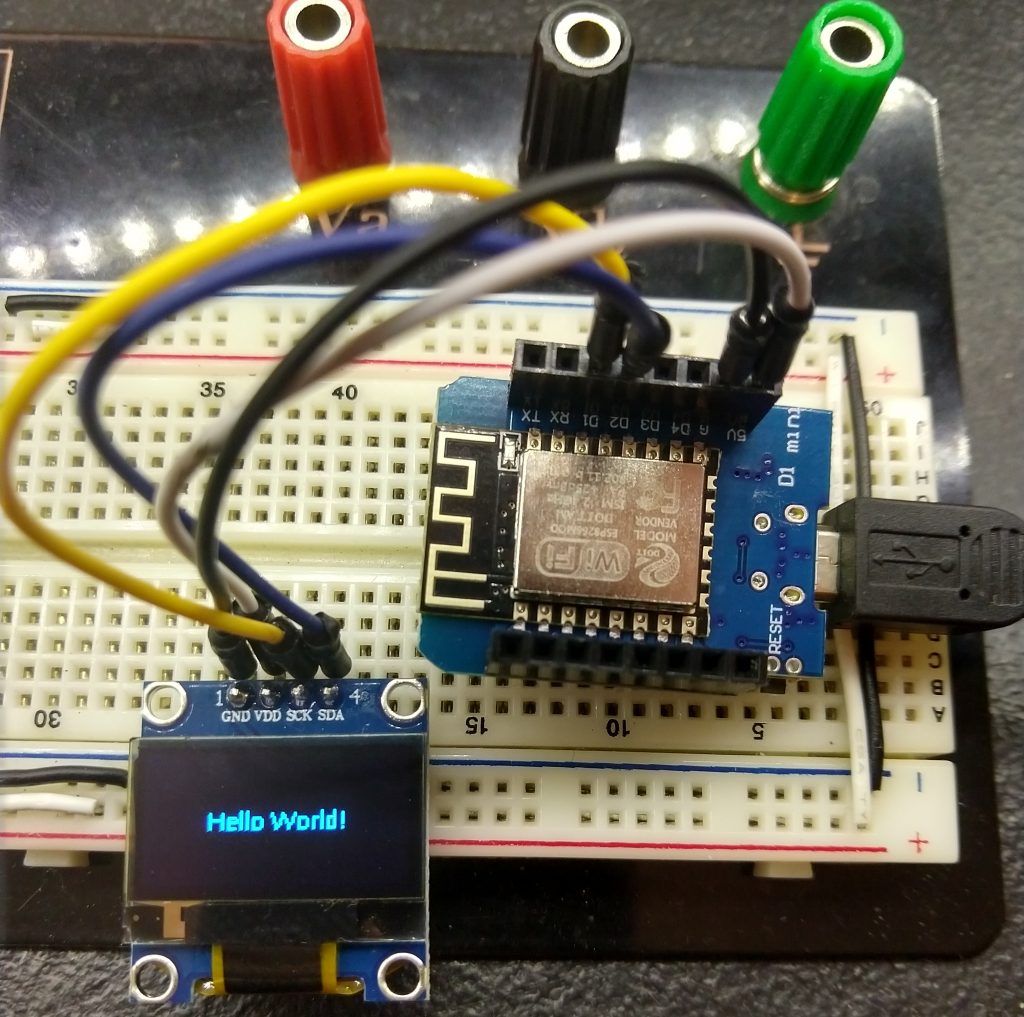
When I started looking up instructions on how to wire it up and find code for it, everything was referencing displays with SDA and SCL pins. Both SCK and SCL refer to Serial Clock, but they’re not exactly the same. At the beginning I kept finding documentation that was saying SCK was for SPI where SCL was for I2C, but SPI is a 3 wire protocol, and this was clearly a 2 wire given the lack of the 3rd wire. I wired up the OLED VDD to Wemos 5v, OLED GND to Wemos GND, OLED SDA to Wemos SDA (D2), and OLED SCK to Wemos SCK (D5). Running the I2C address scanner I got no reponse.
I considered maybe it was mislabeled and tried connecting to the SCL pin on my Wemos (D1), but while the I2C address scanner did find the address @ 0x3C, the display didn’t work with the Adafruit SSD1306 library example.
I plugged the display’s SCK back into the Wemos D5 and found another 1306 library that you can load up with the Library Manager and used the following test sketch:
#include <Wire.h>
#include "SSD1306.h"

SSD1306  display(0x3C, D2, D5); //Address set here 0x3C that I found in the scanner, and pins defined as D2 (SDA/Serial Data), and D5 (SCK/Serial Clock).

void setup()   {
  display.init();
  display.flipScreenVertically();
  display.drawString(0, 0, "Hello world");
  display.display();
}

void loop() {
}
Huzza! I have text.
Next I used the font converter to generate a font and added it as font.h by selecting “new tab” in the arduino editor and pasting the contents into the new file.

Include the header:
#include "font.h"and add the following line to the setup:
display.setFont((uint8_t *) Lato_Hairline_16); //or whatever your font was named.Great, now I have text with a font! Now trying to understand this further I wanted to see if I could get the Adafruit GFX library to work and it turns out that the example file was just more complicated and specific to Adafruit boards than I needed. After connecting the OLED SCK to the Wemos SCL (D1) I uploaded the following code:
#include <Adafruit_GFX.h>
#include <Adafruit_SSD1306.h>

#define OLED_Address 0x3C
Adafruit_SSD1306 oled(1);

void setup() {
  oled.begin(SSD1306_SWITCHCAPVCC, OLED_Address);
}

void loop() {
  oled.clearDisplay();
  oled.setTextColor(WHITE);
  oled.setCursor(0, 0);
  oled.println("Hello World");
  oled.display();
}
And it works! So are SCK and SCL actually the same? Not really, but for driving this I2C display with a Wemos D1 Mini either will work.
Since I’m using a Wemos D1 Mini, obviously I wanted to do something IOT here. Let’s put the wifi to work:
#include <ESP8266WiFi.h>
#include <WiFiClient.h>
#include <ESP8266WebServer.h>
#include <ESP8266mDNS.h>

#include <Wire.h>
#include "SSD1306.h"
#include "lato_hairline_12.h" //A font I generated, comment this out or set your own

const char* ssid = "*************"; //enter your SSID here
const char* password = "****************"; //enter your network password here

ESP8266WebServer server(80);

const int led = 13;

SSD1306  display(0x3C, D2, D1); // Yep, we can use SCL in this library too. Someone tell me the difference?

// this function is what gets called if you enter the base ip address of your Wemos in the browser
void handleRoot() {
  digitalWrite(led, 1);
  server.send(200, "text/plain", "hello from esp8266!");
  digitalWrite(led, 0);
}

// this gets called if no function is for your address
void handleNotFound() {
  digitalWrite(led, 1);
  String message = "File Not Found\n\n";
  message += "URI: ";
  message += server.uri();
  message += "\nMethod: ";
  message += (server.method() == HTTP_GET) ? "GET" : "POST";
  message += "\nArguments: ";
  message += server.args();
  message += "\n";
  for (uint8_t i = 0; i < server.args(); i++) {
    message += " " + server.argName(i) + ": " + server.arg(i) + "\n";
  }
  server.send(404, "text/plain", message);
  digitalWrite(led, 0);
}

void setup(void) {
  pinMode(led, OUTPUT);
  digitalWrite(led, 0);
  Serial.begin(115200);
  WiFi.mode(WIFI_STA);
  WiFi.begin(ssid, password);
  Serial.println("");

  // Wait for connection
  while (WiFi.status() != WL_CONNECTED) {
    delay(500);
    Serial.print(".");
  }
  Serial.println("");
  Serial.print("Connected to ");
  Serial.println(ssid);
  Serial.print("IP address: ");
  Serial.println(WiFi.localIP());

  if (MDNS.begin("esp8266")) {
    Serial.println("MDNS responder started");
  }

  server.on("/", handleRoot);

  server.on("/update", handleUpdateCall);

  server.on("/inline", []() {
    server.send(200, "text/plain", "this works as well");
  });

  server.onNotFound(handleNotFound);

  server.begin();

  display.init();
  display.flipScreenVertically();
  // comment the next line out or set your own font.
  display.setFont((uint8_t *) Lato_Hairline_12);
  // this is one big reason I like this library better than adafruit's. Adafruit's doesn't have an align method.
  display.setTextAlignment(TEXT_ALIGN_CENTER_BOTH);

  // display the server ip address on the screen upon wifi connection
  display.drawString(display.getWidth()/2, display.getHeight()/2, "HTTP Server Started:\n" + WiFi.localIP().toString());
  display.display();
}

void loop(void) {
  server.handleClient();
}

// this gets called if you enter http://yourwemosaddress/update?message=SomeMessageText in a web browser
void handleUpdateCall() {

  String message = "";

  //Message parameter wasn't found
  if (server.arg("message")== ""){

    message = "Message Argument not found";

  }else{
    // message was found, let's display it on the OLED
    message = "";
    message += server.arg("message");     //Gets the value of the query parameter
    display.clear();
    display.drawString(display.getWidth()/2, display.getHeight()/2, message);
    display.display();

  }

  server.send(200, "text/plain", "OK");          //Returns the HTTP response
}
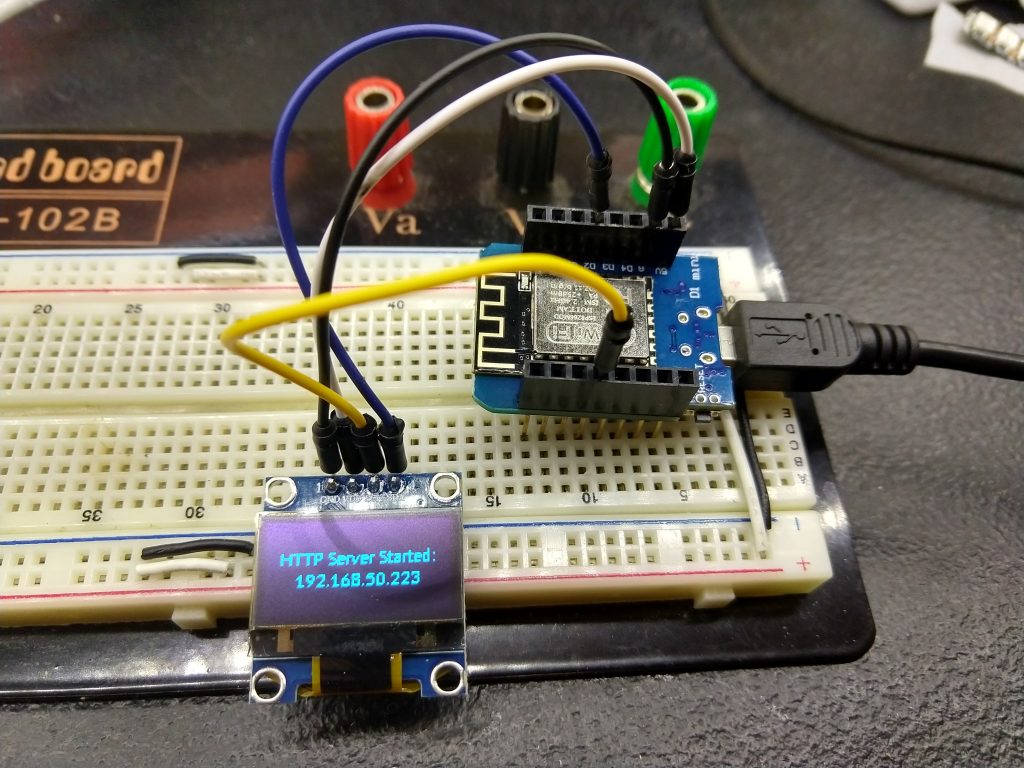
Once the file is uploaded it should display something like this:

If you’re following along enter the the following in your browser:
http://<Your Wemos IP>/update?message=Hello%20World!

And just like that, you now have a WIFI enabled mini display.
TIPS:
- Sometimes to get the Wemos D1 Mini into programming mode you have to hold down the reset button while plugging it into USB. For mine this seems to persist until I unplug it and plug it back in again.
- The ThingPulse OLED library has built in text display options, like alignment, that made it better for this project.
- More information about I2C https://learn.sparkfun.com/tutorials/i2c/all
- I put together a quick video covering basically the same information: https://www.youtube.com/watch?v=IruIBMaGEIQ
Happy Hacking!


