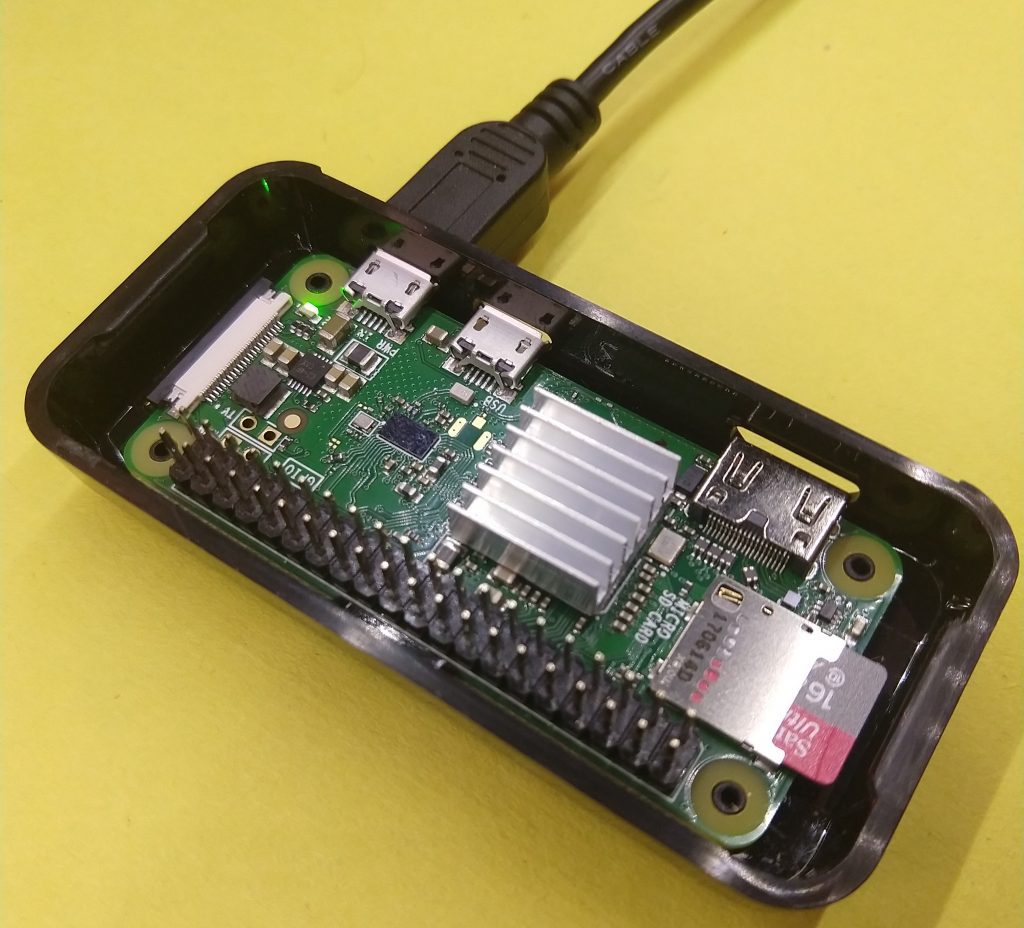
I’ve been making a lot of little IOT projects recently and so far I’ve integrated everything with Home Assistant which has been a lot of fun and allowed me to quickly set up automations and dashboards, but I keep seeing people referencing Node-RED so I thought I’d check it out. Node-RED has a really cool workflow editor to create automated processes and complex automation rules quickly and easily. It also has nodes for MQTT which I use extensively for my sensors and switches so I can integrate it with what I already have rather than starting anything from scratch. I have a Raspberry Pi Zero W that I picked up on sale, so I thought I’d see how Node-RED would perform on it.
First thing I did was to head over to the Raspbian download page and got a fresh copy of Raspbian Stretch Lite. Using Etcher I burned the image to a 16 Gb Micro SD card. If you are running MacOS I’d suggest using Apple Pi Baker. Once the burning process was complete the SD card auto mounted the boot partition, and I created two new files. The first file should be named “wpa_supplicant.conf”. Here’s an example:
country=US
ctrl_interface=DIR=/var/run/wpa_supplicant GROUP=netdev
update_config=1

network={
    ssid="your_real_wifi_ssid"
    scan_ssid=1
    psk="your_real_password"
    key_mgmt=WPA-PSK
}
If you don’t use WPA on your network you can find config examples for about every security type out there with a little google-fu.
The second file you’ll need to create is named “ssh”. Notice there’s no extension here like .txt or .conf. The file can remain empty. It’s purpose is to signify to the OS that you want to enable SSH access.
Now go ahead and put the SD card into your Raspberry Pi Zero W and plug it into your power supply.

After a couple of minutes I logged into my router and checked the connected device list to find my Pi’s IP address:

If you’re on a Mac, or have mDNS enabled on your Windows (Apple Bonjour for Windows) or Linux box
(Avahi daemon), you can access the pi @ raspberrypi.local (which you can and should change later). If you don’t have access to your router’s connection table you can use the wpa_supplicant.conf file to define a specific IP address.
Using an ssh client (Putty, terminal, Windows 10 Subsystem for linux, etc), log into your pi using the username “pi” and default password “raspberry”. After you’re in run all your system updates.
# log in
$ ssh pi@192.168.50.168
pi@192.168.50.168's password:
Linux node-red 4.14.79+ #1159 Sun Nov 4 17:28:08 GMT 2018 armv6l

The programs included with the Debian GNU/Linux system are free software;
the exact distribution terms for each program are described in the
individual files in /usr/share/doc/*/copyright.

Debian GNU/Linux comes with ABSOLUTELY NO WARRANTY, to the extent
permitted by applicable law.
# run updates
$ sudo apt -y update
$ sudo apt -y upgrade
$ sudo raspi-config
The last one will allow you to poke through the config and make various updates. Personally I always make sure to update my local settings which helps the keyboard translate to more sensible mappings.
After all that you’ll want to reboot to make sure your changes and updates have taken effect.
$ sudo rebootNow we’ll get to actually installing Node-RED. Since Node-RED is a *surprise!* NodeJs app, we’ll need NodeJS and npm. First we’ll install npm, then we’ll install “n” which we’ll use to install and manage node versions.
# install npm from public repo
$ sudo apt -y install npm
# install n from npm
$ sudo npm install -g n
# install the latest stable version of 'n'
$ sudo n stable
Now we’re ready to install Node-RED
$ sudo npm install -g node-redWhile this process is running, look down at your tiny little Raspberry Pi Zero W and be AMAZED that you’re running linux on this thing, not to mention installing a home automation workflow server. It’s incredible. Just saying…
Now, launch Node-RED
$ node-red-piIf all goes well you should now be running Node-RED on your pi and you can access it from your web browser @ http://<your-pi-address>:1880
One last bit of maintenance; if you want Node-RED to start at boot (and you probably do) there’s a startup script available. Download and install using the following process:
$ sudo wget https://raw.githubusercontent.com/node-red/raspbian-deb-package/master/resources/nodered.service -O /lib/systemd/system/nodered.service
$ sudo systemctl enable nodered.service
$ sudo systemctl start nodered.service
$ sudo systemctl status nodered.service
The -O flag on the wget command sends the downloaded file to a specific location on your system.
systemctl enable command tells your system to start the service on boot.
systemctl start starts the service right now, and finally
systemctl status will show you that (hopefully) Node-RED is indeed running as a daemon.
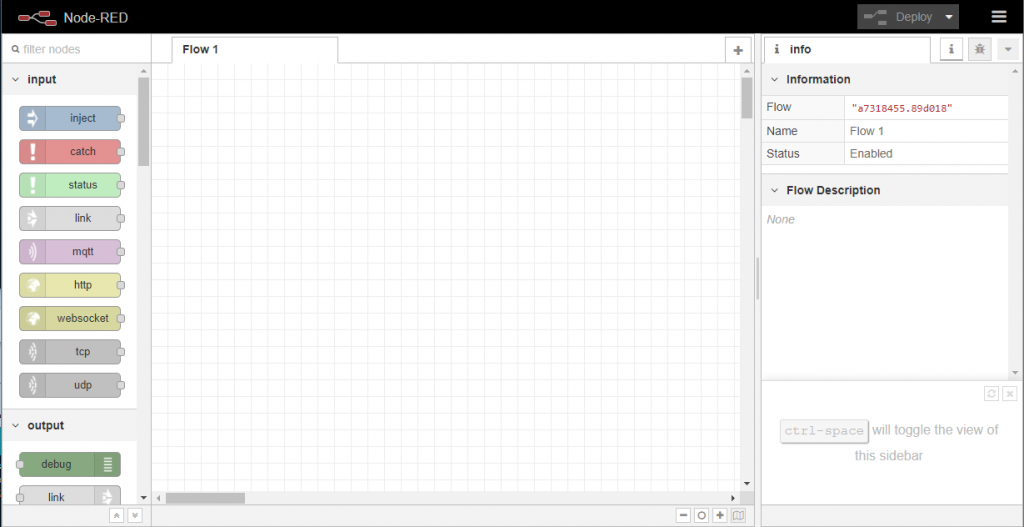
Go ahead and check the url in your browser, to make sure everything is going, and you should see something like this:

Congratulations! You’re ready to start building workflows and dashboards for your IOT projects. I’ll be building a new device soon, and if all goes well I’ll do a write-up on how to build your first workflow. Stay tuned for updates, and happy hacking!


